VERSION 1: ARDUINO UNO
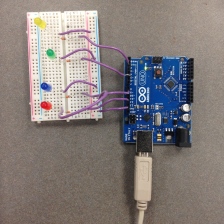

(Left image: Version 1.1. Right image: Version 1.2)
Version 1 focused on the main functional aspect of Musical Hoodie, the LED light display. We tested BeatWrite, an open source code we found, on the Uno because we did not want to go straight into using the Lilypad and ruin the sweatshirt. We figured that if it works on the Uno, it will definitely work on the Lilypad. In Version 1.1 we tested the program using the breadboard and LED lights with some wires. After we got BeatWrite to working for Version 1.1, we moved onto Version 1.2, which uses sewable LED lights. We used electrical tape to connect the conductive thread to the wires and connected the wires to the breadboard.
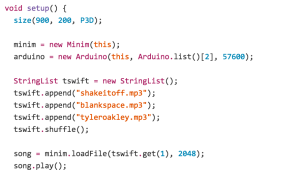
Below are some screenshots of our code. The top image shows all of the pins we assigned so the lights in BeatWrite would light up. The middle image shows the shuffling function we called so that we do not have to manually change the songs when we wanted to present our presentation. The code on the bottom is what makes the LED lights light up to the frequency of the drums.


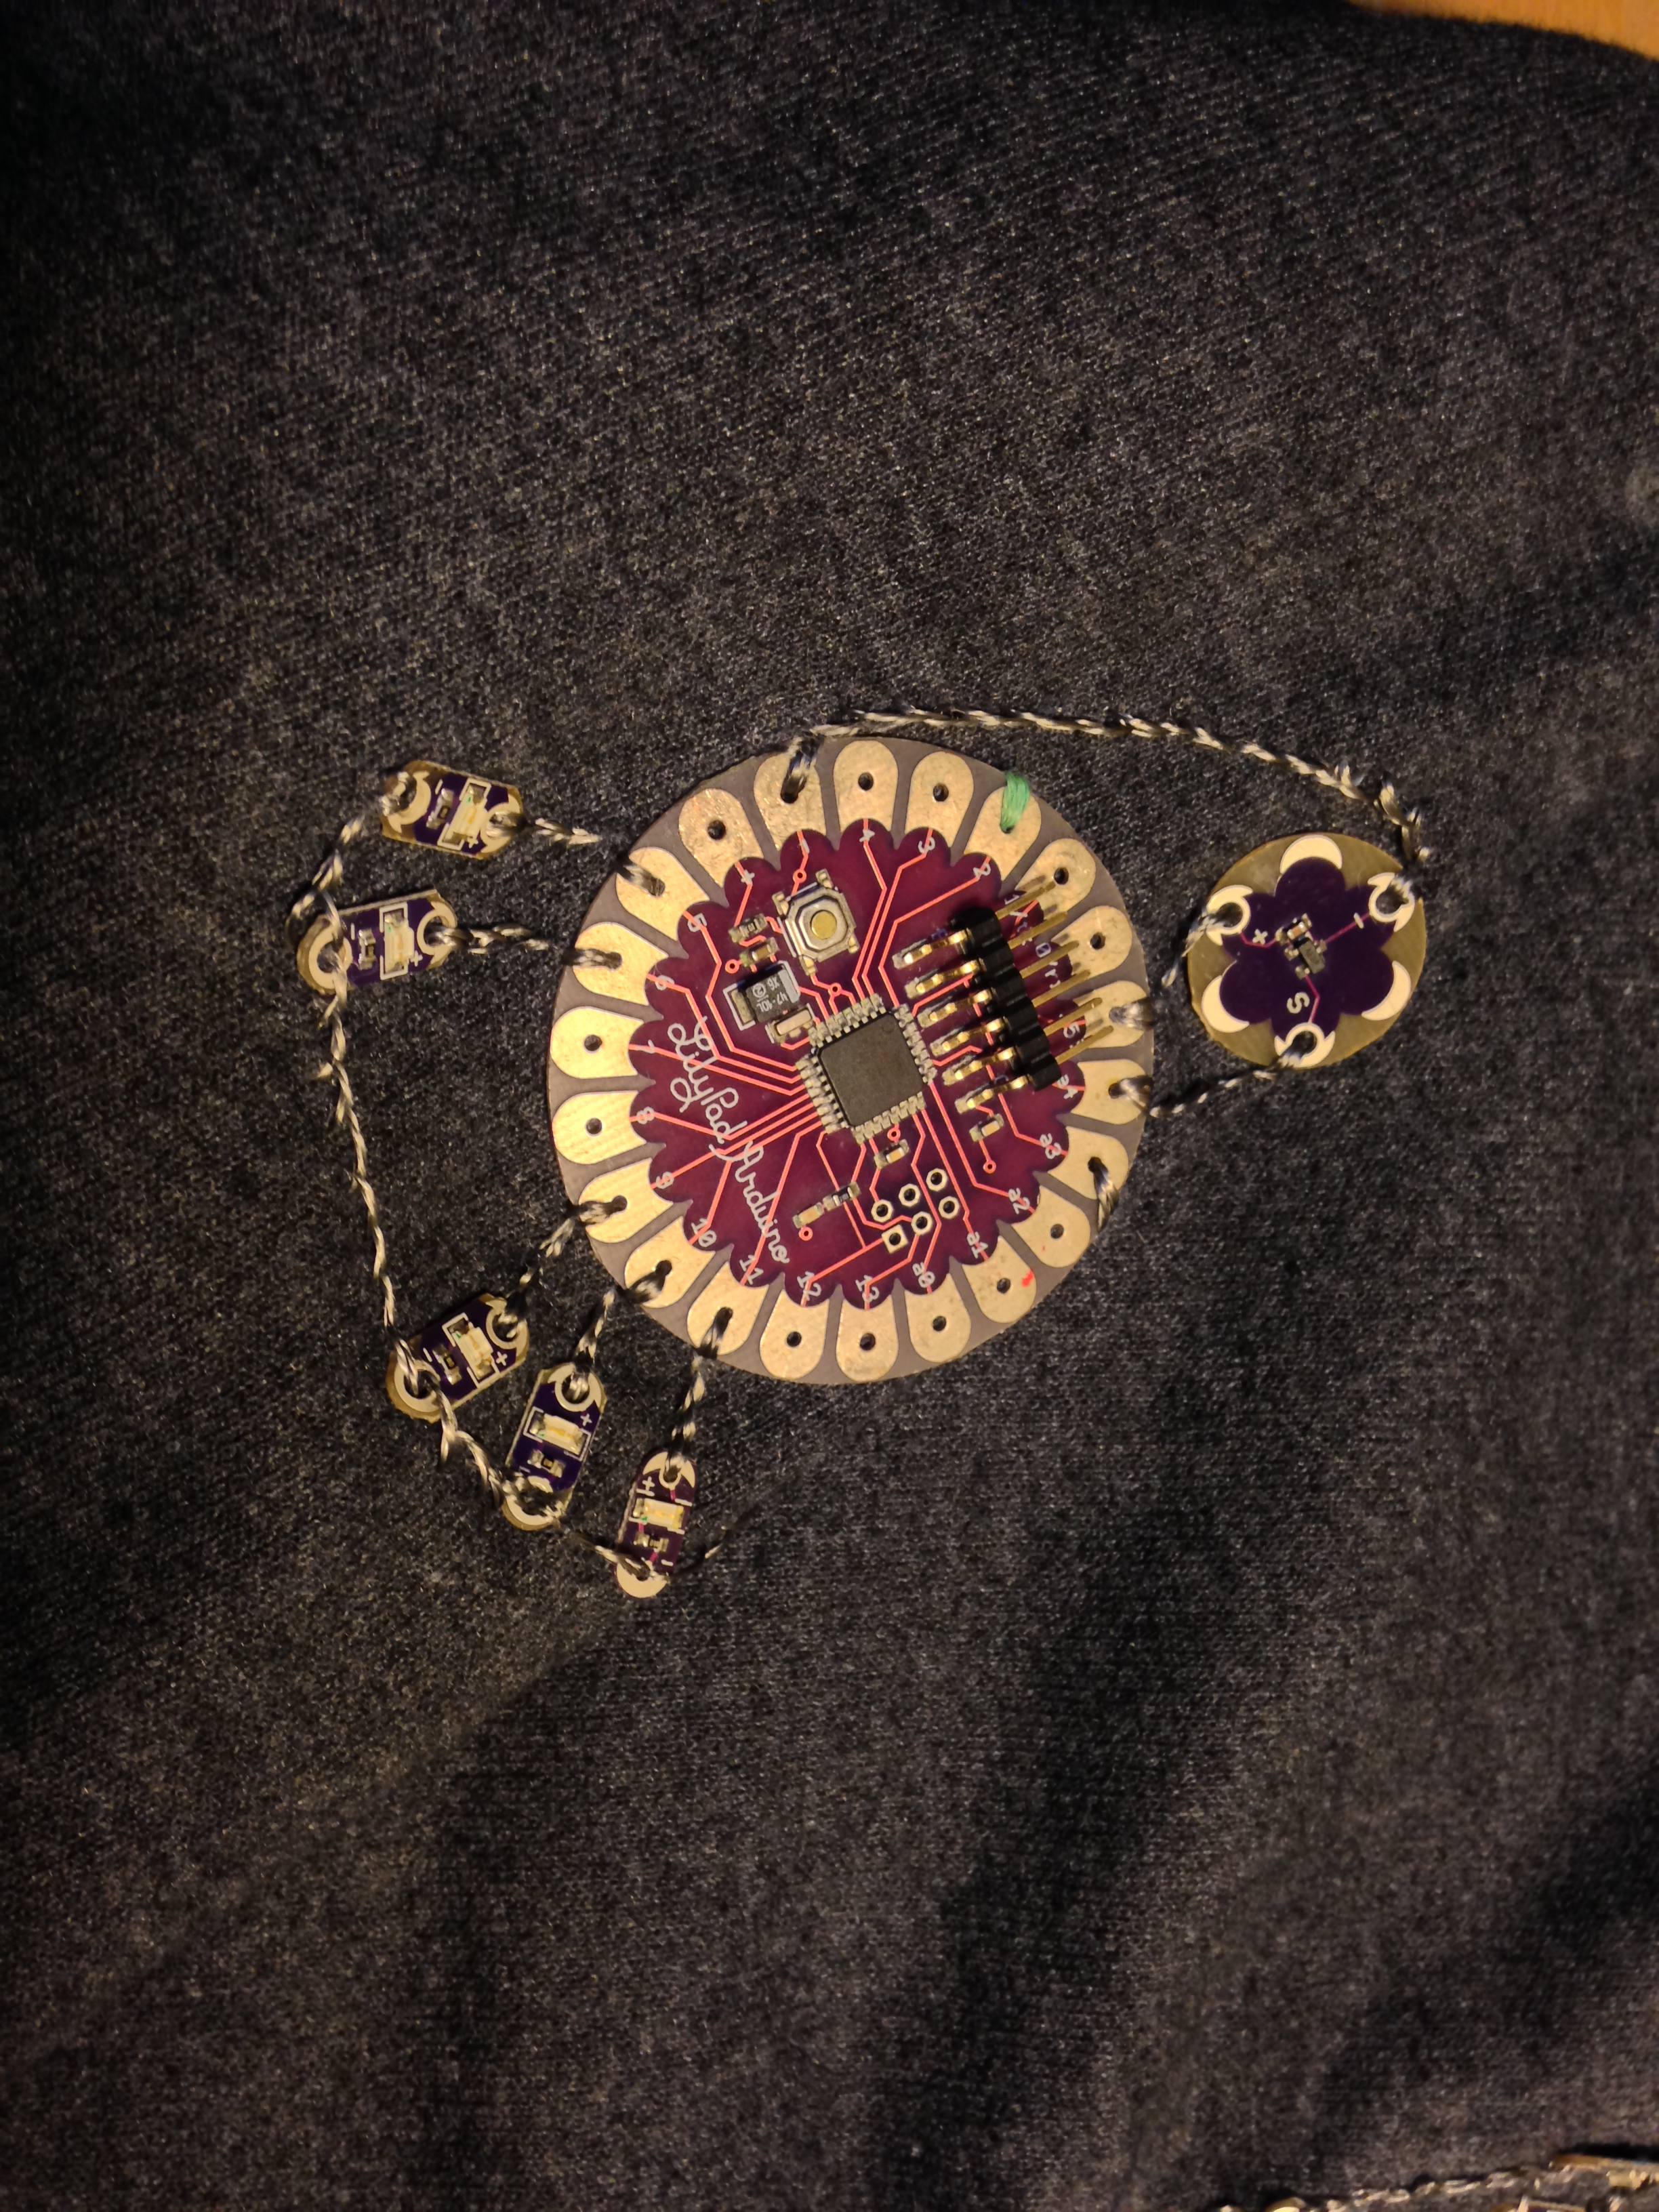
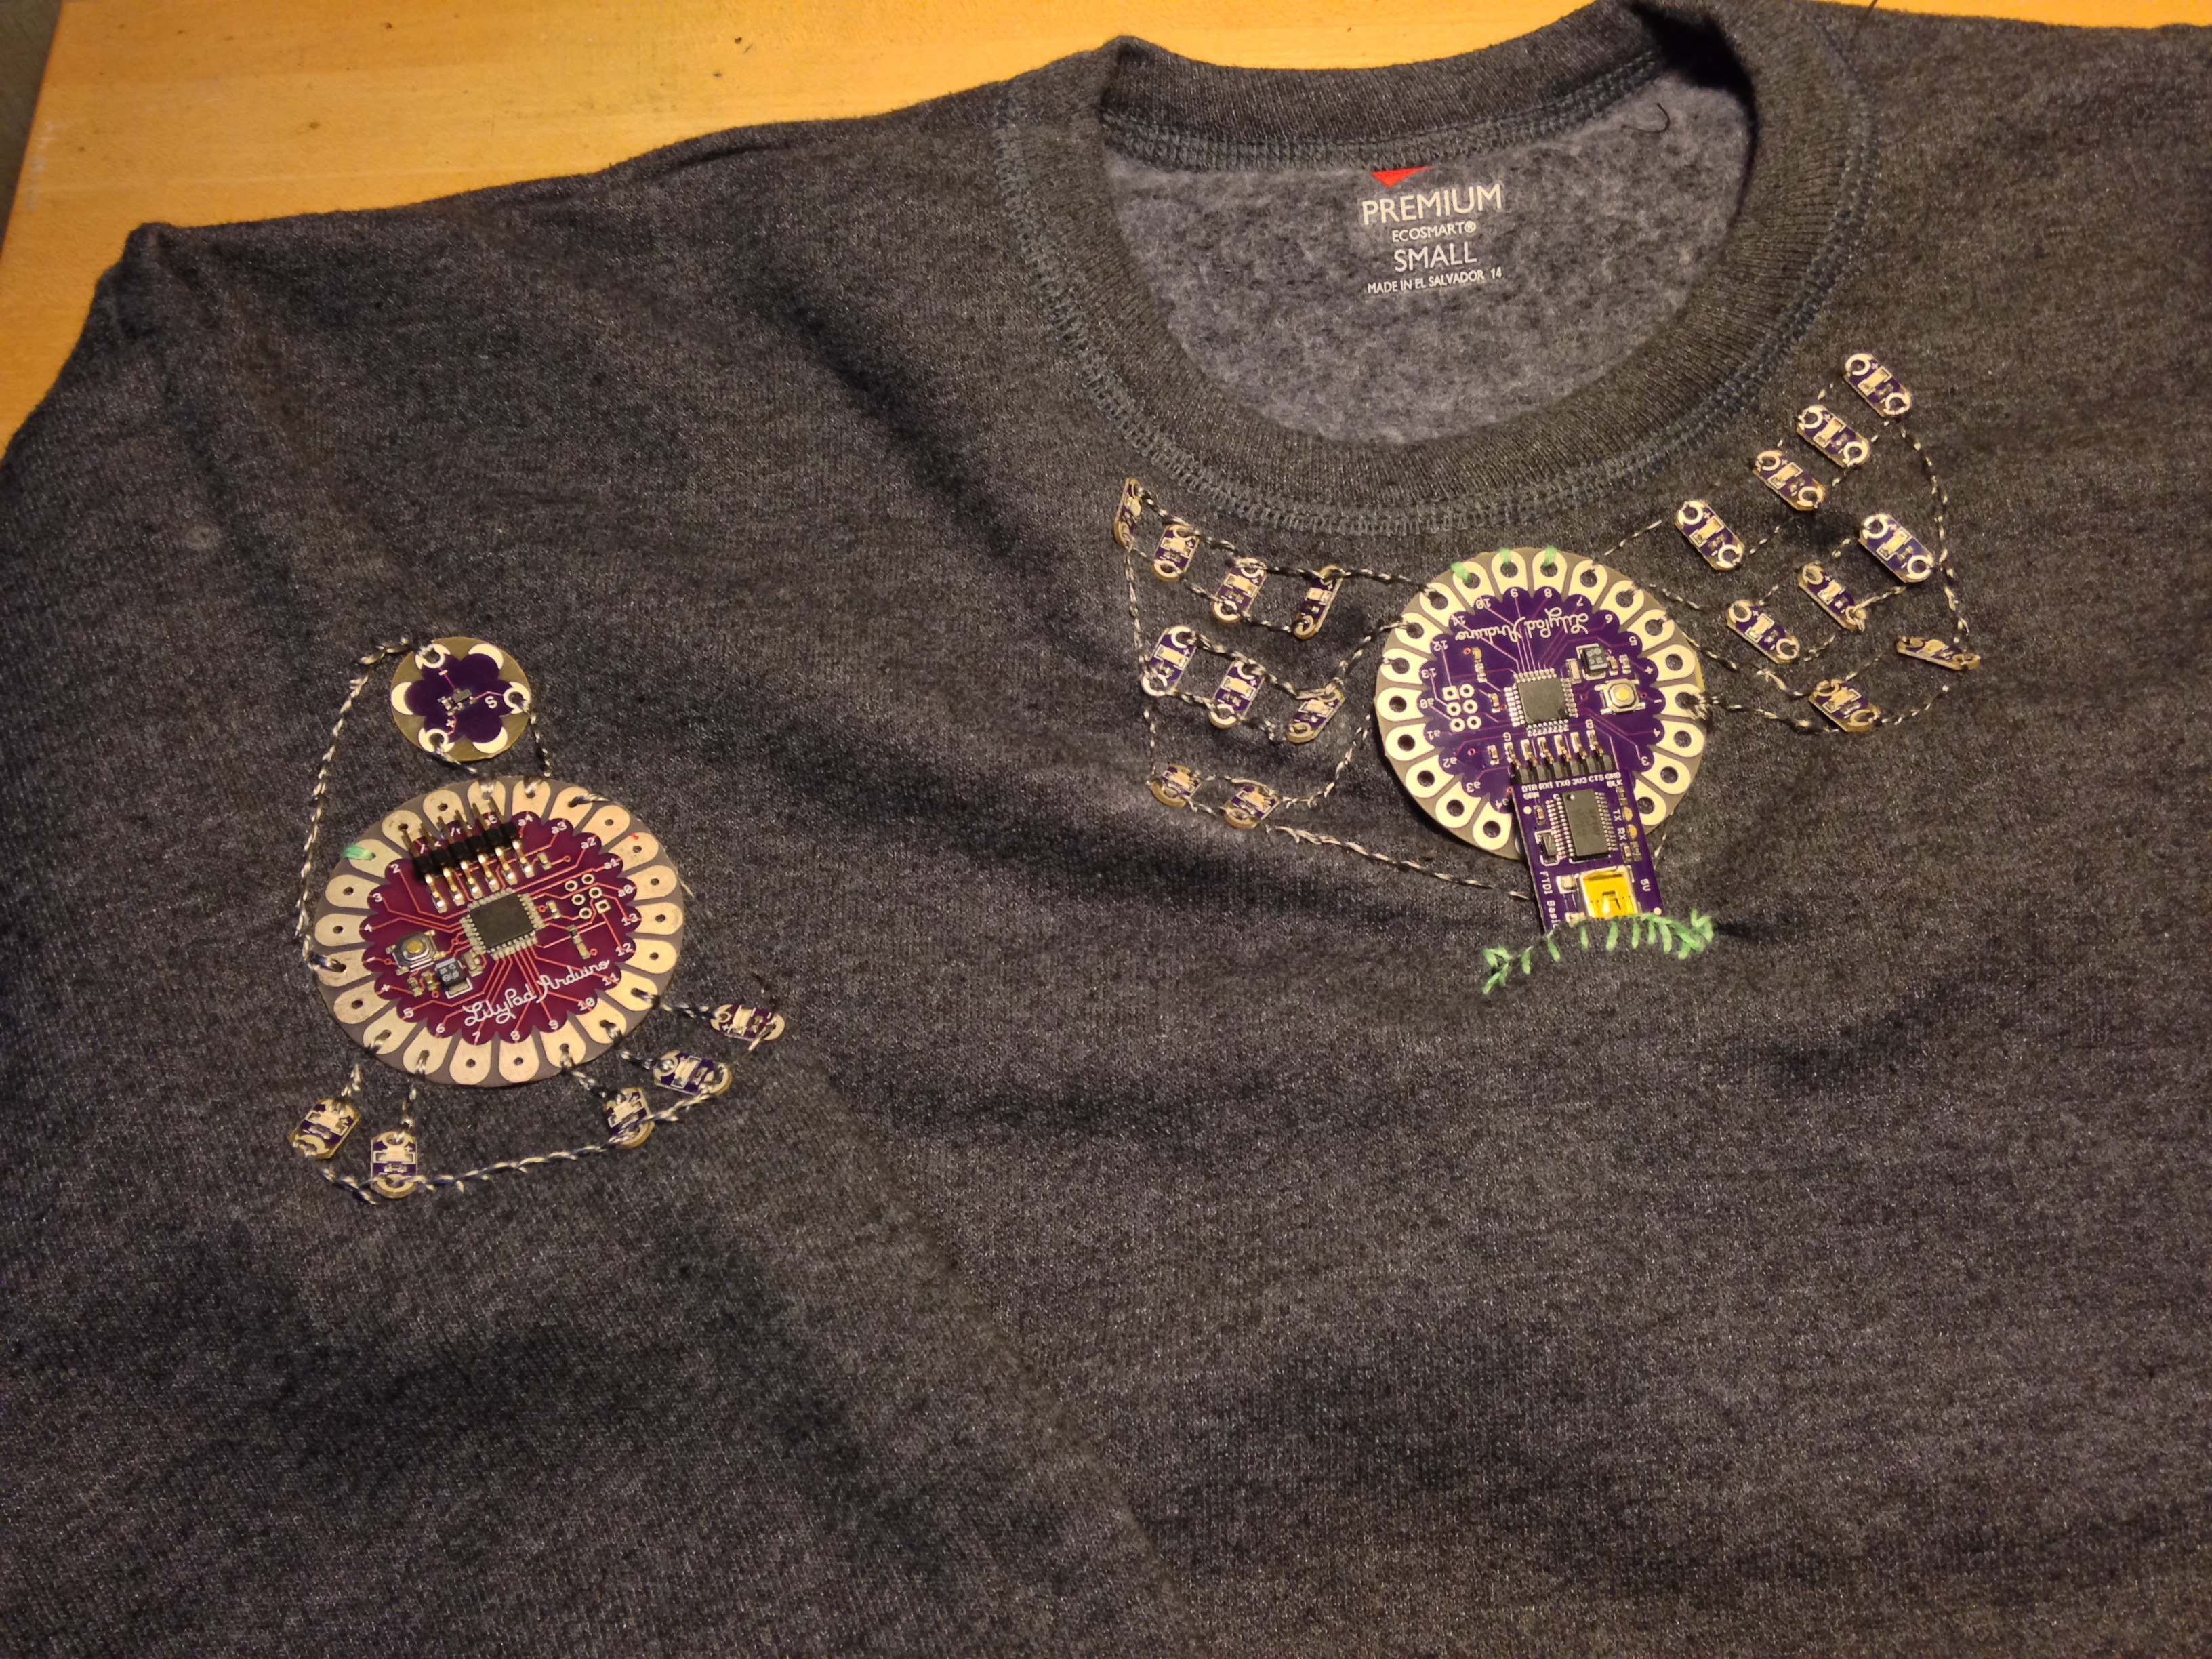
VERSION 2: ARDUINO LILYPAD

Version 2 focused on switching from Uno to Lilypad, a sewable version of an Arduino. Kelsey was the main contributor to the visual design of the sweatshirt because of her background in sewing and knitting. She sewed the lights in horizontal lines based on color to help make sure the conductive thread wouldn’t cross itself but that multiple lights could be sewn to one output of the Lilypad. Since we know BeatWrite works on the Uno, we did not have to worry about the program crashing when changing Arduinos. We learned that switching from Uno to Lilypad was not as simple as we thought, but were able to fix the problem with the help of Evan by downloading an FTDI driver. Once that was done, we tested the LED lights from Version 1.2 with the Lilypad. From this we learned (the hard way) that conductive threads short circuit very easily and can catch on fire. We discovered that the loose strands of the LED lights on Version 1.2 was the root of the problem, so we decided to sew our product together. After doing so we tested the program and everything lit up without short circuiting.
VERSION 3: STRETCH SENSORS
We unfortunately do not have photos of this version, but we wanted to implement stretch sensors that were sewn onto the elbows as elbow patches. We knitted acrylic yarn with conductive thread, thinking that the circuit should still work. After many trial and errors, we discovered that in order for a stretch sensor to work, we also needed conductive yarn. Since we did not have resources and the time to order conductive yarn, we decided to ditch this version.
VERSION 4: TEMPERATURE SENSORS


We decided to add a temperature sensor so the sweatshirt would be more interactive. Although we wanted to have two temperature sensors, we decided that having the temperature on only one shoulder would look nicer than having one Lilypad in the center of the back of the sweatshirt with conductive thread leading to either shoulder (a previous design). We wanted to invoke the idea of a shoulder pad or brand label that’s often placed on the shoulder, as well as continue with the idea of inviting others to interact with the sweatshirt. This can be done by simply tapping the user’s shoulder rather than somewhere which would be less comfortable for them. We envisioned that when users are wearing this other users can touch the sensor and the sensor will make the the LED lights light up. We learned that temperature sensor outputs are measured temperatures that can be translated to string.
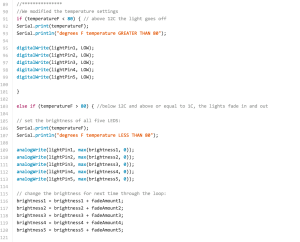
The code below is what was tweaked from the original program. Multiple pins were added, as well as the temperature range.
FINAL PRODUCT!

We removed the hem of the bottom of the sweatshirt and the wrists. We then re-stitched the hem using a stitch which Kelsey taught us to make the hems more colorful and the overall sweatshirt more fun! We attempted to use a sewing machine to attach the pocket but in the end returned to hand sewing so we could use the special double stitch. We cut a hole below the main Lilypad so the USB cord (or in the future a cord to connect to an iPod) would run through the sweatshirt rather than in front of it, blocking its design.
View our full sets of code at our GitHub site!


